Toddlers can be so picky... One day they love a certain food and then the next day, they hate it!
Here are a few things that are certain about toddlers and their meals:
- They love a variety of colors.
- They love simple things, mostly.
- They love familiar foods. It is ok to repeat. (You don't have to be a Martha Stewart here)
- They love what they can grab quickly.
- They love a variety of textures.
- They love a variety of tastes.
I wanted to share with you ten of my son's favorite meals. He is not picky, but there are foods that he absolutely loves to eat very often. I try to give him a bit of protein, dairy, carb, and either a fruit or veggie at each meal.
His top foods?
- avocado
- string cheese (cheese in general, really)
- egg
- cheese
- carrots
- green beans
- chicken
- zucchini
- baked sweet potato fries
For my son's meats, I always bake them. I never ever fry foods for myself, so why would I ever dare give my son fried foods!
For his veggies, I love steaming, baking, or roasting them. I cook them long enough for them to get soft or tender, but not too long or the nutritional value decreases.
For his fruits, I try to aim for fresh fruits. Except, this week, when I sent my husband out to get items for this blog post, my husband got packaged peached instead of fresh peaches. Oh well. My son still devoured them. I just rather not do the packaged due to all of the high fructose corn syrup!
My son drinks breastmilk, water, and one specific brand of Organic Apple Juice and Organic Grape Juice from a brand called R.W. Knudsen.
It is NEVER too early to encourage good nutrition!!
Meal #1:
String Cheese
Couscous (he loves the texture!)
Baked Turkey Breast
Meal #2:
Green Beans
Sweet Potato Fries
Baked Chicken Breast
Meal #3:
Avocado
Eggs
Oranges
Meal #4:
Spaghetti Noodles with Meat Sauce
Carrots
Roll
Meal #5:
Peaches
String Cheese
Eggs
Meal #6:
Mashed Baked Sweet Potato
String Cheese (he freaking loves this and loves to tear it apart)
Baked Pork Chop
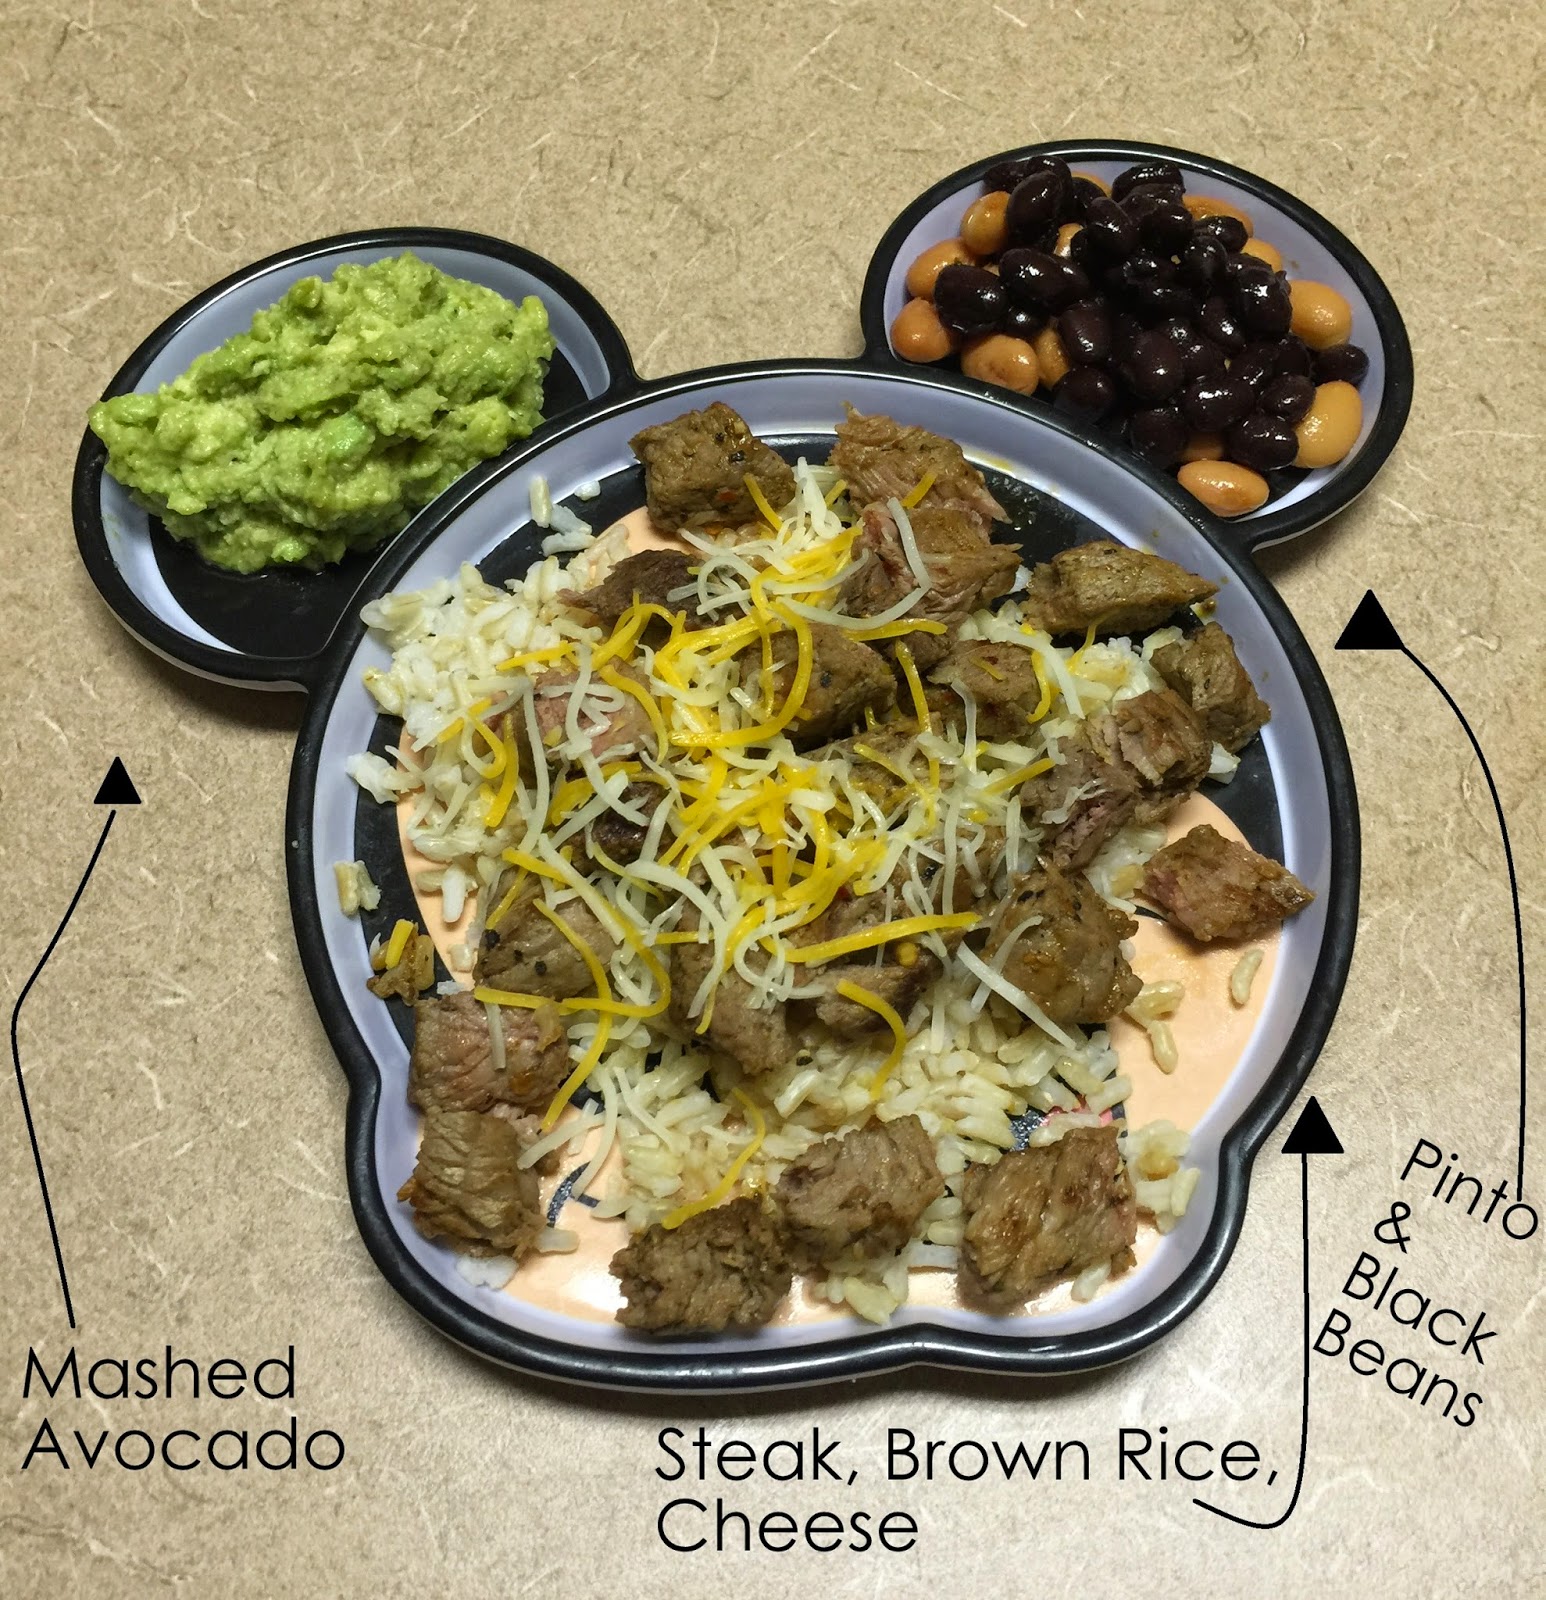
Meal #7:
My homemade "chipotle bowls" are a hit with our son!
Avocado
Pinto & Black Beans
Steak, Brown Rice, Shredded Cheese
Meal #8:
Oatmeal Banana Waffles
Peaches
Black Forest Ham
Homemade oatmeal banana waffles recipe:
- 1/2 banana
- 3/4 cup oats
- 1 cup coconut milk
Mix ingredients together by hand while your waffle iron is heating. Then waffle them up! YUMMY!
Meal #9:
String Cheese (yup, again)
Peas & Carrots
Baked Chicken Tenderloin
Meal #10:
Avocado
Oranges
Baked Chicken Breast (boy loves his chicken like mommy!)
These are just ten of the meals my son loves to eat! He loves other foods, too, that are not mentioned, but as you can see, there are some repeats and, quite frankly, repeats work when you are a busy mommy. Don't complain, be thankful for this!!!
If you child loves some chicken like mine does, I suggest buying a rotisserie chicken from the local grocery store for $6 and making his meals (and yours) off of that for 3-4 days. Easy, cheap, and hassle-free.
A lot of the time, my son eats what my husband and I eat. Most of the meals pictured here are lunches with some breakfast meals added in.
Bottom line: Have fun! Experiment! Get creative.
I post different meals as my son's taste buds develop :)