

My son is turning ONE in less than one month.
I repeat: MY SON IS TURNING ONE IS LESS THAN ONE MONTH!!!
Where the heck does the time go? Seriously...
We decided to celebrate a bit early with a cake smash photoshoot. I have seen tons of them done and figured it would be such a fun and cute idea! My son loves getting into things so I just knew that he would dig in right away-and right away he did!
It was so freaking easy and I would love to share with you my tips on how to host your OWN cake smash in your own home like we did.
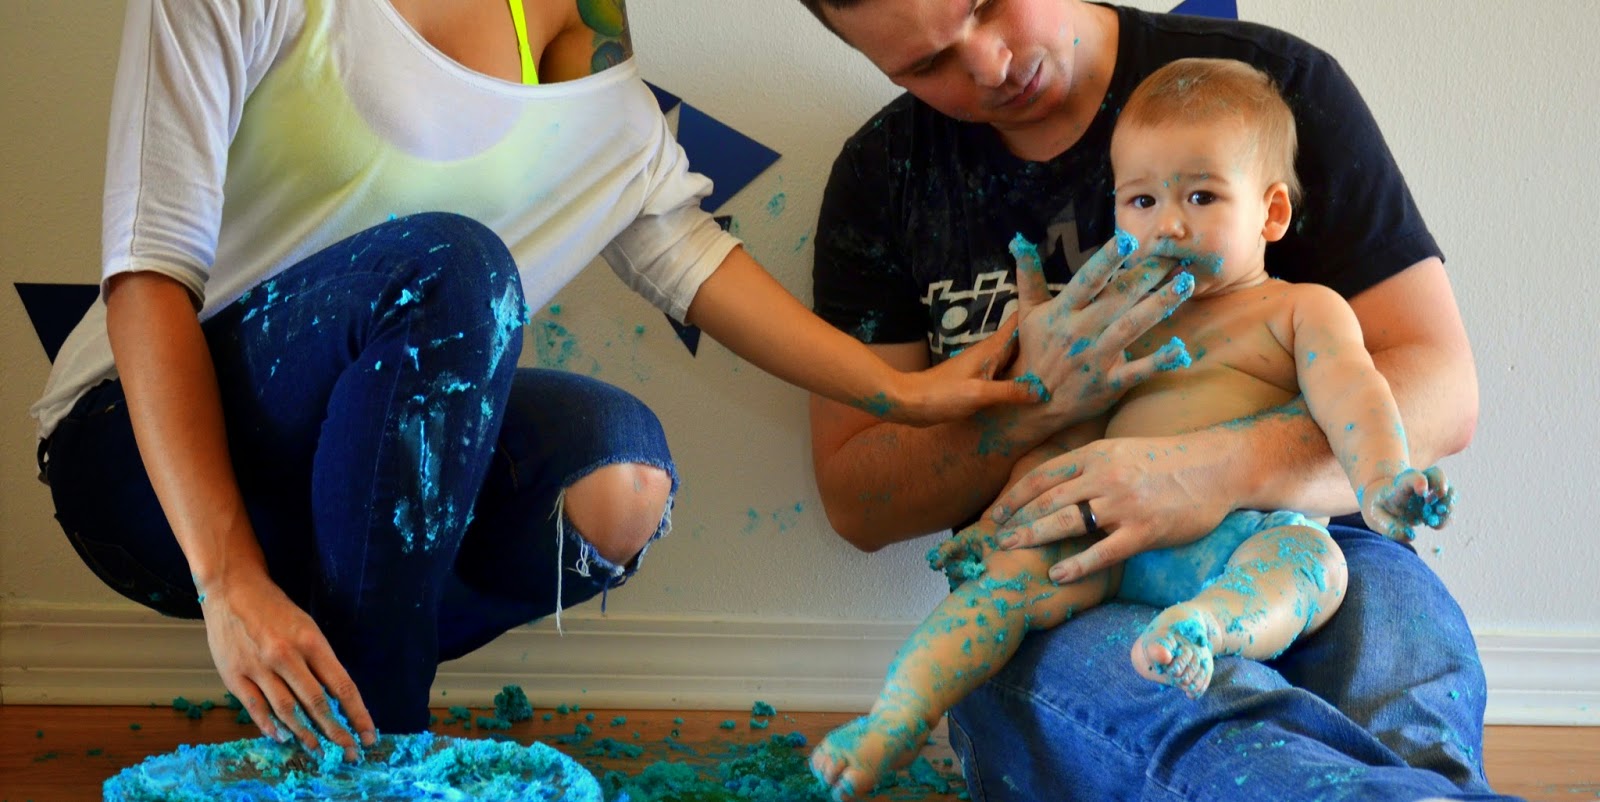
And can I let you in on a little secret? Smashing the cake with my son and making a mess was one of the most carefree, stressfree moments that I have had in a really long time? Throwing icing on the walls, flooring, and each other was a lot more fun than I could imagine.
And cleaning up actually wasn't too bad either!

But first, the cake.
The cake was nothing fancy and was actually super simple to make. All you need is a 6 inch mini cake pan, a box of blue velvet cake mix, 1 container vanilla icing, and 2-3 cans blue icing (the one in the can that comes with various tips for decor.)
**Please note. These brand of icings are oil based. Eating too much may upset your little one's tummy. You can make your own icing using real butter instead or not let your child consume too much of the icing! After all, the cake is for props mainly :)


I mixed the batter according to the directions and it filled two 6 inch pans. I baked it until a toothpick came out of the center clean and I set them aside to let them cool.
When they were cooled, I spread the icing from the plastic container between the two cake pieces and stacked them. This sort of acted as the "glue" that helped keep them together.

For the outward icing, it was simple. I used the "star" icing tip and simply made little stars all around the cake. I used two colors here for some extra fanciness.

I made a cake topper using one of the banners, cut into a smaller triangle and stuck to a wooden rod. Easy.

Next, the decorations.
I bought a huge book of ombre blue scrapbooking paper at Wal-Mart for like $5 or so and cut triangles to make a faux banner. Instead of threading them onto a string, I taped the banner to the wall, triangle by triangle. This was an easy, no fuss approach.
As for props, you can do balloons or whatnot, but I chose to use Russell, my husband's childhood teddy bear as the main prop. After all, Russell did make his first grand appearance in Greyson's 6 month photoshoot. So we decided to use him again.
Simple, yet sentimental.

Lastly, add BABY!!!
I debated on what to put Greyson in for this shoot, but I decided his light blue Charlie Banana cloth diaper would do the trick. And it did! It was also easy to soak and wash. Plus, why not get him closest to his "birthday suit" right?
I just love those rolls!
Here are the rest of our photos from the cake smash. We even joined in with him. And yes, I ate cake.
Enjoy!


No comments:
Post a Comment
Note: Only a member of this blog may post a comment.